Hey there, fellow anime, gaming, and illustration enthusiasts from Diipoo!
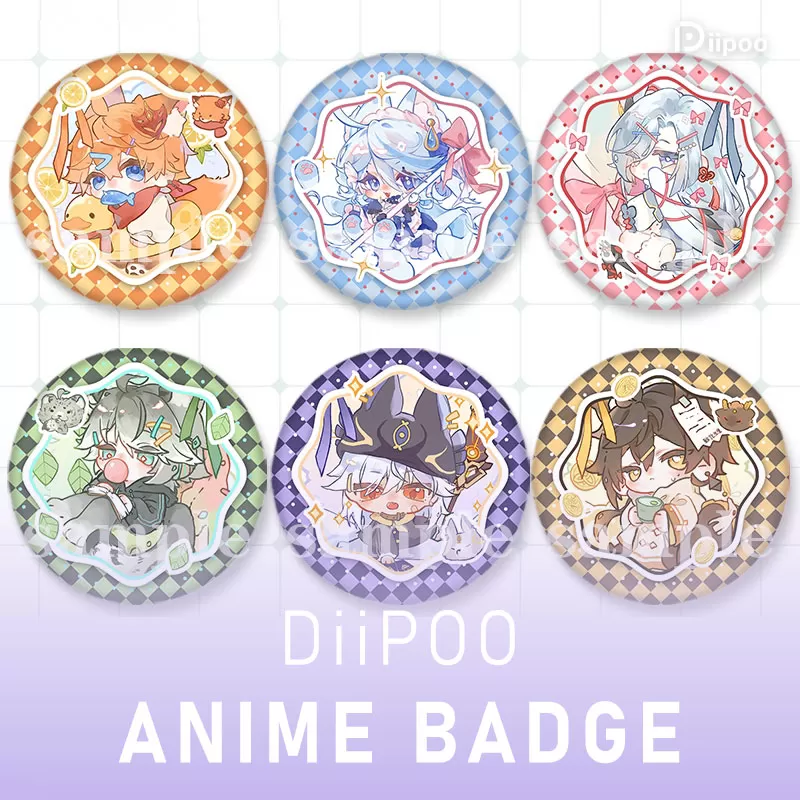
Button Pins, these small circular badges, are a fantastic way for anime fans, gamers, and creators to express their personality. They can be pinned on backpacks, clothes, or hats, silently declaring your passion. Want to own unique "exclusive button pins"? Besides buying official merchandise, you can choose to make them yourself (DIY) or use a convenient online customization service! Diipoo offers a convenient online customization service, making it easy for you to get high-quality anime badges.
Today, Diipoo is here to show you how to get creative with button pins!
DIY Handcrafting Pins – Endless Fun!
Making button pins yourself is a fun process, and the cost is low. You can use materials you have on hand and unleash unlimited creativity, adding your unique touch to every pin. However, please note that handmade pins might differ in finished look and durability compared to machine-pressed products. Let's look at a few common DIY methods (referencing the images provided):
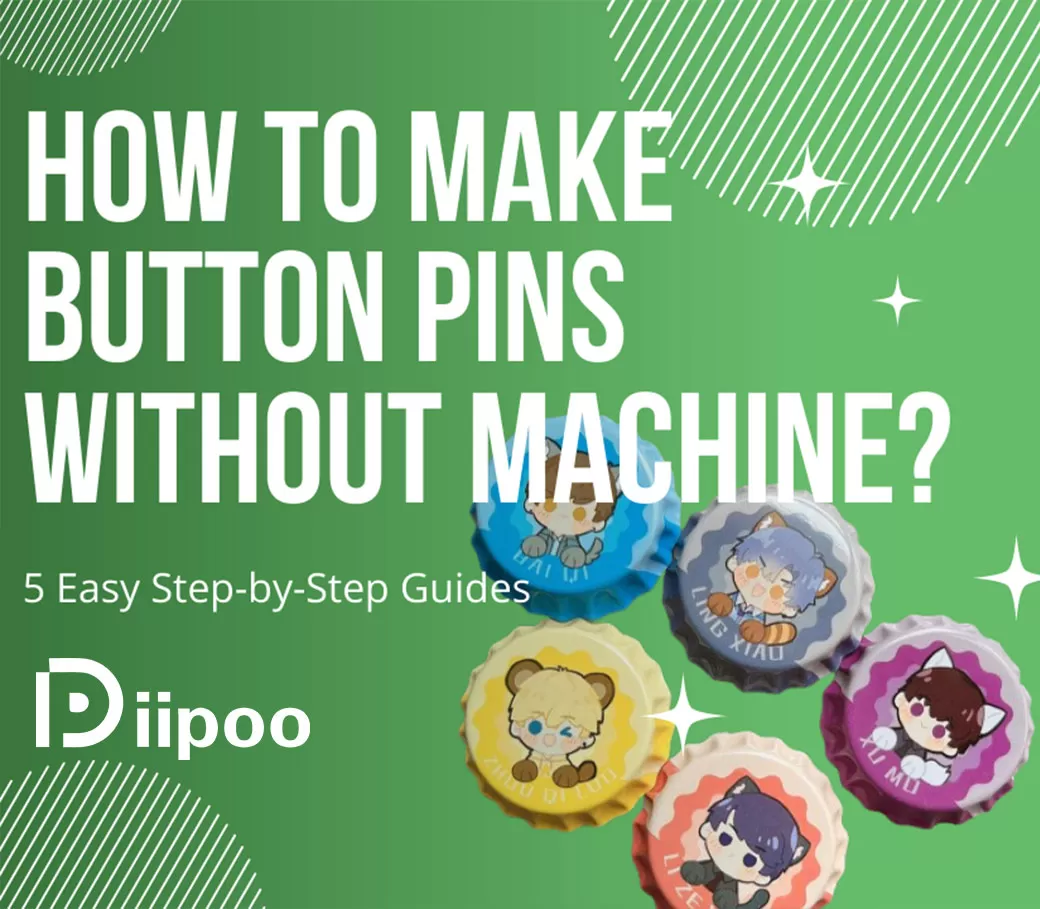
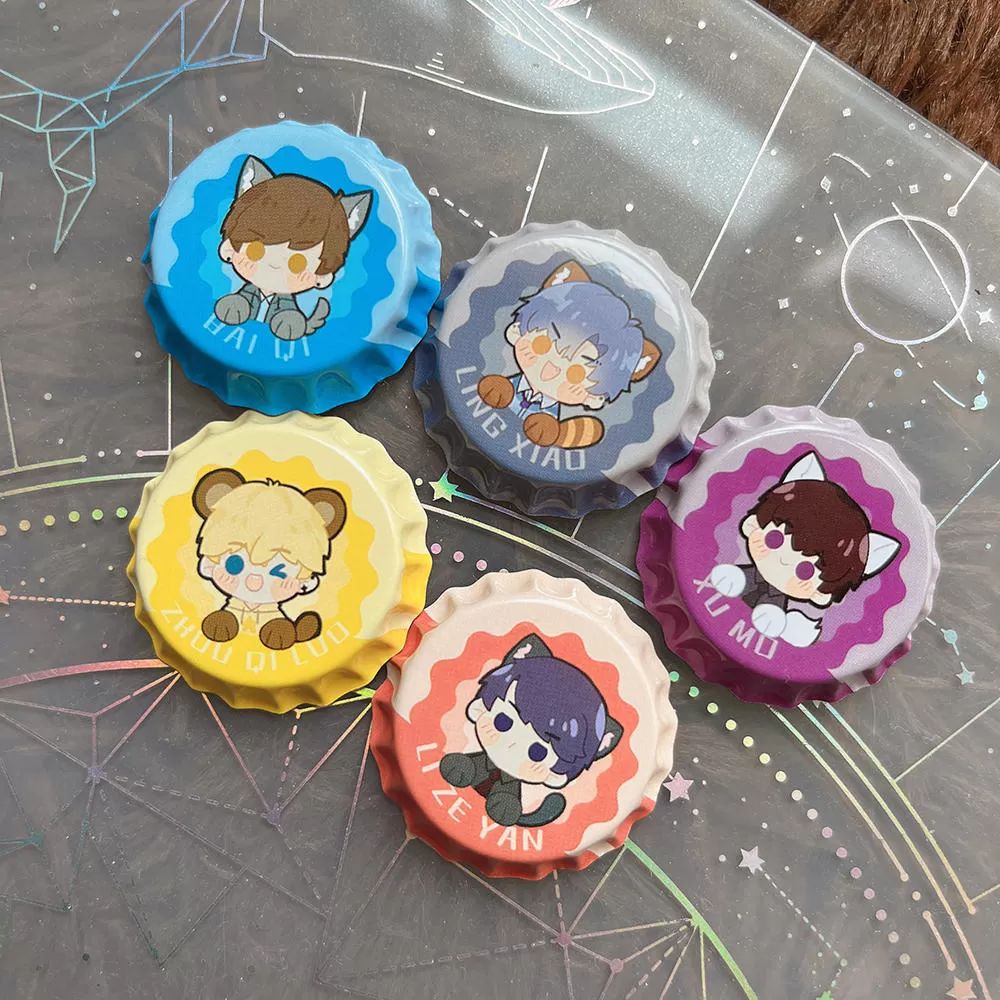
1. Making Personalized Pins Using Bottle Caps
Seen those adorable little badges made from bottle caps in the images? Bottle caps, with their natural circular indent, are perfect as a base for pins.
Method: Collect and clean bottle caps (you can flatten them slightly). Inside the cap's recess, glue your carefully prepared design (printed or hand-drawn, cut into a suitable circle). To protect the design and add shine, you can pour clear resin, apply clear nail polish, or use Mod Podge over the artwork. Once completely dry and cured, use strong glue (like E6000 or hot glue) on the back of the bottle cap to attach a pin back (referencing the pins seen in the images). In just a few simple steps, your unique bottle cap pin is done!
Pros: Materials are easy to find, fun way to recycle, finished product has a unique vintage feel and concave effect.
Cons: The finished pin might not be perfectly flat, the protective layer might not be very durable, and the bond strength depends on the glue.
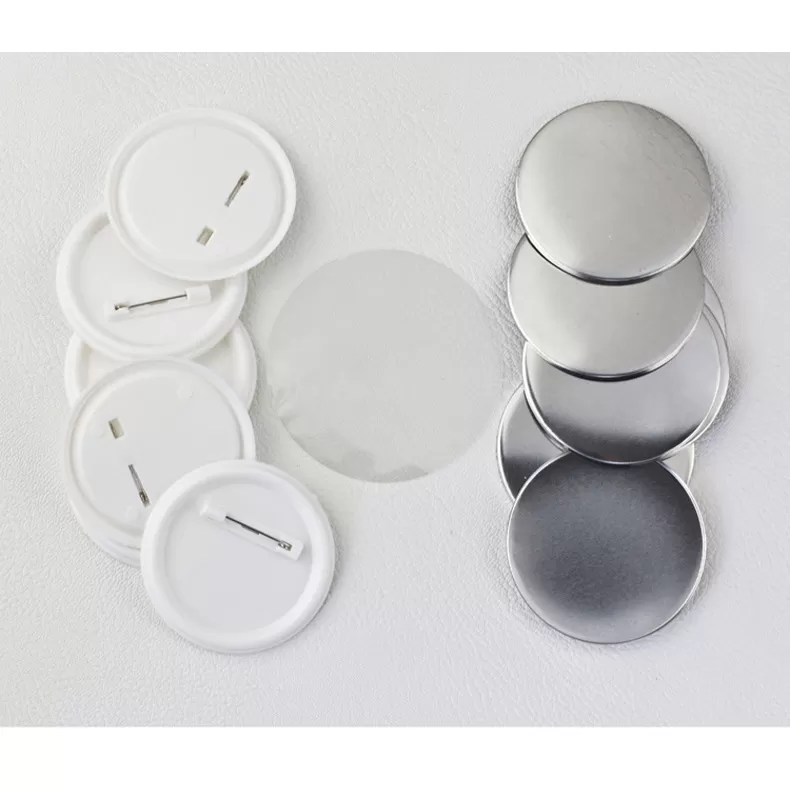
2. Crafting Pins Using Blank Pin Bases
The images show parts for making pins, especially the plastic bases with pins attached. While machine pressing is the mainstream, we can utilize these ready-made pin bases to make pins by hand.
Method: This method primarily uses the plastic or metal bases with pins attached (usually smooth on the back). You'll glue or attach your design onto the smooth front side. The design itself can be made from thick cardboard, wood pieces, hard plastic sheets, clay pieces, etc., with a printed or hand-drawn picture applied to the surface. Once your design piece is ready, use strong glue to firmly attach it to the front of the ready-made pin base.
Pros: Clean back with a standard pin attachment, more material options for the design piece.
Cons: Requires purchasing blank bases, the bond might not be as strong, edges are harder to finish as smoothly as with machine pressing.
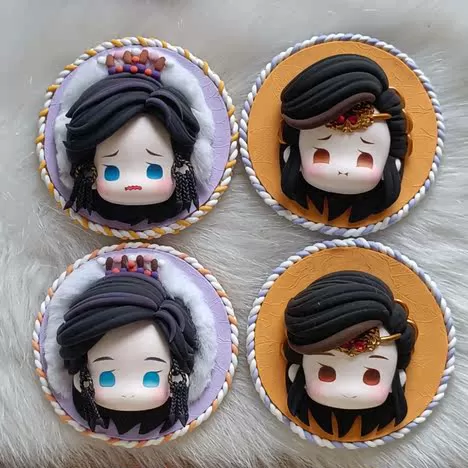
3. Creating Creative Pins Using Clay
Wow, those pins made from clay in the images are too cute! They have such a great three-dimensional feel! If you enjoy crafting and sculpting, making pins with clay is a fantastic way to unleash your creativity.
Method: You can use polymer clay, air-dry clay, resin clay, etc., to sculpt the designs or characters you want. They can be flat or have a raised, relief effect. After sculpting and allowing the clay to fully dry or harden (depending on the clay type), you can paint the surface and apply a sealant. Finally, use strong glue to attach the pin back to the back of your creation.
Pros: Unlimited creativity, can create any shape and 3D effect, unique finished products, full of artistic flair.
Cons: Longer production time, requires a certain level of crafting skill and patience, clay might be fragile.
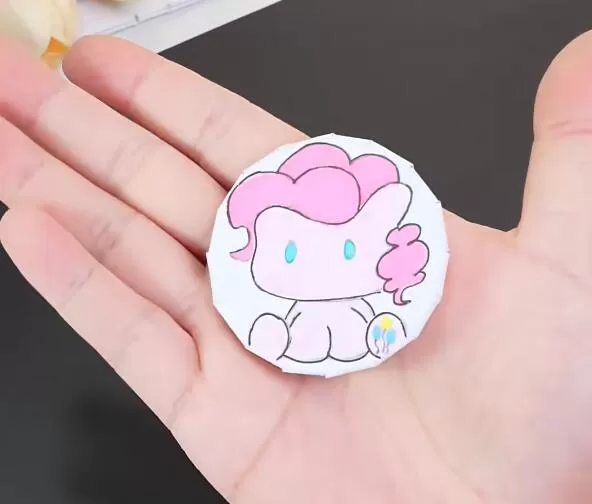
4. Making Simple Pins Using Paper
The images include a paper pin, which looks simple and lovely. This is one of the most basic and easy-to-start DIY methods.
Method: Draw or print your design on thick cardboard (like from a delivery box or snack box) or multiple layers of regular paper. Cut along the edge of the design. To add thickness and rigidity, you can glue multiple layers of cardboard or paper together. For water and wear resistance, you can cover the design surface with clear tape or wide tape, or apply a sealant like Mod Podge. Finally, glue the pin back to the back using strong glue.
Pros: Most readily available materials, lowest cost, quick to make.
Cons: Less durable, edges can easily fray, might not be very flat.
Get Creative! Diipoo Online Customization for Button Pins
After reading about these DIY methods, are you feeling excited to try them but also a bit worried about your crafting skills? Or perhaps you need to produce a batch, or you're aiming for a more professional, durable finished product? In that case, Diipoo's online customization service is your best choice!
At Diipoo, we understand your pursuit of the perfect button pin. We offer a convenient online customization service, making it easy for you to get high-quality anime badges. You don't need any machines or complicated tools; you just need to upload a picture you like – whether it's an original illustration, an anime character image, a game screenshot, or even your own photo!
How does it work? It's very simple:
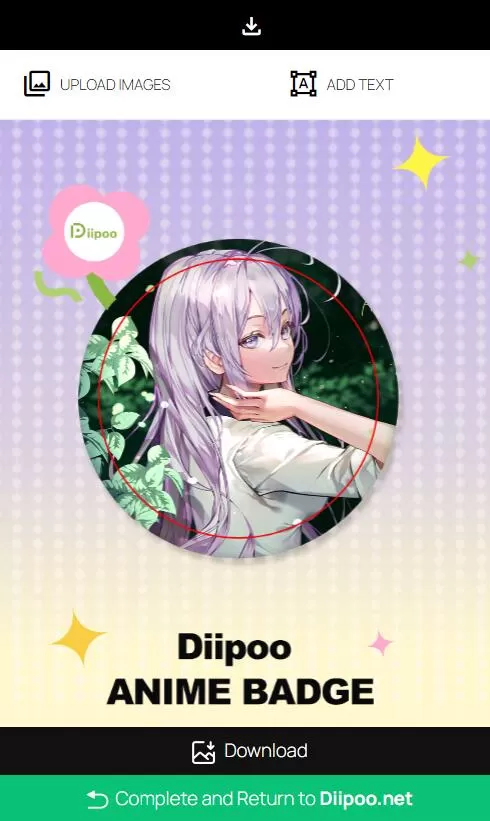
- Go to Diipoo's online customization page.
- Click "Upload Images" to upload your picture.
- Adjust the size and position of the picture in the preview box to make sure the desired area is within the circle. You can also select "Add Text" to add text.
- Click "Download" (this is for previewing); once satisfied, you can submit your customization order.
Our system will automatically process the print file for you. After placing your order, we will use professional equipment and processes to create a colorful, smooth-edged, durable custom anime badge for you. The whole process is time-saving and effort-free, and the finished product is professional and reliable.
DIY or Custom? How to Choose?
So, should you choose to make them by hand, little by little, or go for easy online customization? It depends on your needs!
- If you enjoy the process of making things, like turning waste into treasure, and don't have high demands for the finished product's perfection, just want to play with creativity, then DIY is perfect for you. You can experience the sense of accomplishment from creation.
- If you seek a professional, attractive, and durable finished product, need to make them in batches (e.g., for selling as fan merchandise, or for club event souvenirs), or you have many great images you want to quickly turn into physical items, then Diipoo's online customization service is undoubtedly more convenient and efficient. You can quickly turn digital creativity into high-quality physical items.
Conclusion
Whether through DIY or customization, button pins are a great way to showcase your passion and connect with fellow enthusiasts. We hope this article helps you understand the different ways to make them, from simple paper crafts to challenging clay work, and the convenient, efficient online customization.
Now, choose the way you prefer and let your creativity and passion become a shining anime badge pinned on your chest or bag! Head over to Diipoo now to customize your own custom anime badge! We look forward to seeing your unique ideas come to life!