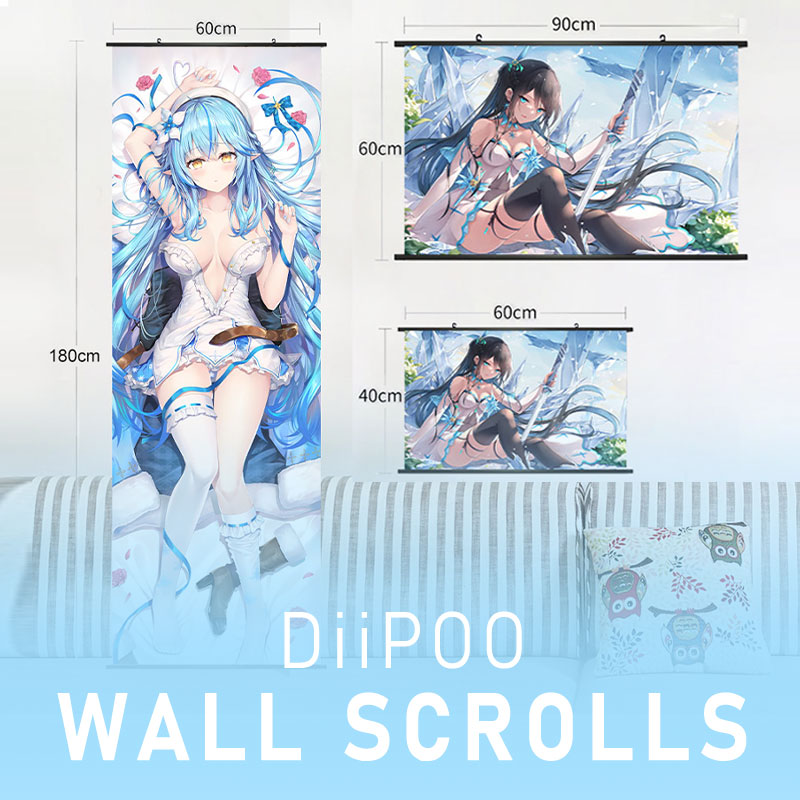







Hey there, fellow room-transforming masters and passionate collectors from Diipoo!
Do you often find yourself staring at that blank wall, itching to turn your beloved characters, stunning scenes, or heartwarming illustrations into tangible art pieces that you can hang in the most prominent spot, making your room instantly burst into your personalized sanctuary? Yes, that's the magic of a Wall Scroll! It's more than just decor; it's an extension of the world you love and a loud declaration of your unique taste!
However, when it comes to hanging these precious wall scrolls, many of us face a common "sweet trouble": we don't want to leave those aesthetic-ruining, or perhaps landlord-vexing, nail holes in the wall! Especially if you live in a rented apartment or meticulously maintain your home's walls, the goal is often "damage-free operation" – showcasing your passion without leaving a trace behind.
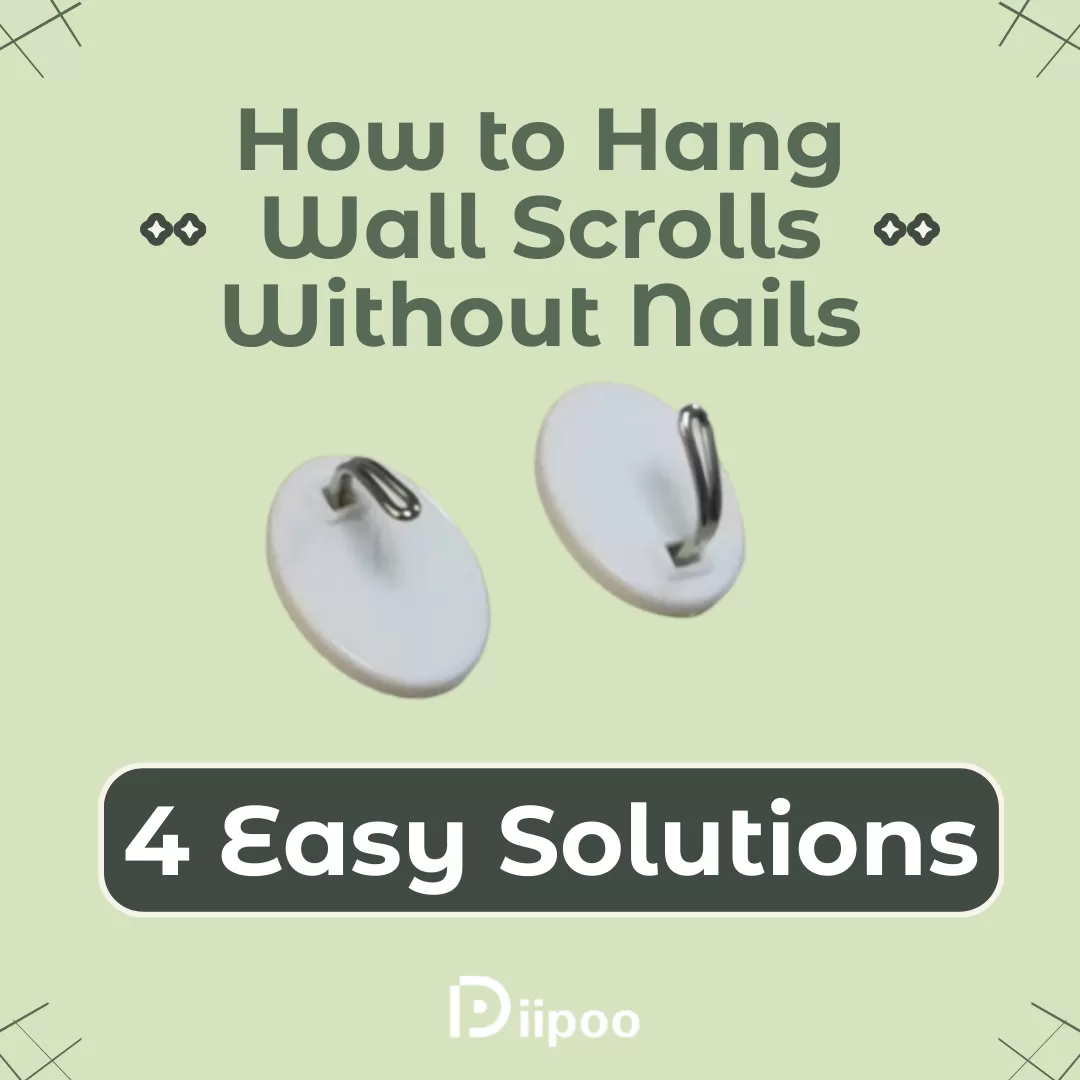
Good news: putting your "Best Girl/Boy" (your favorite character or work) on the wall without nails is totally achievable! And even better, Diipoo has already taken the first step for you – in the package of your custom-made wall scroll, you'll find that we've thoughtfully included some **high-quality adhesive hooks** for you!
Method 1: The Diipoo Included Adhesive Hooks – Your Go-To Solution!
The adhesive hooks that Diipoo sends with your wall scroll are one of the most common and convenient nail-free hanging methods available. They are typically designed to stick securely to smooth, clean wall surfaces and be removed without damage, making them an ideal partner for most wall scrolls.
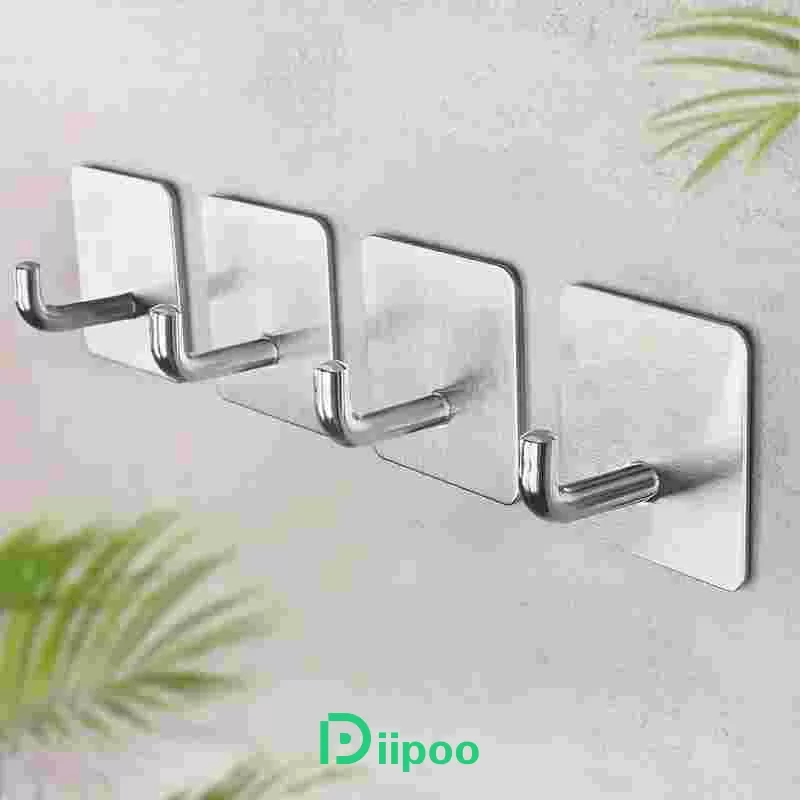
How to use the included Adhesive Hooks:
The steps are straightforward, but the **key is to follow the instructions and be patient!**
- Choose your spot and clean the wall: Find your desired hanging location. Then, use a clean cloth with rubbing alcohol (or another residue-free wall cleaner) to thoroughly wipe down that area, removing any dust, grease, or fingerprints. Let the wall dry completely. This step is crucial – a clean wall surface is essential for the adhesive to stick properly!
- Prepare the hook: Take out the adhesive strip(s) and hook from the packaging. According to the instructions, accurately attach the adhesive strip (usually double-sided) to the back of the hook.
- Attach the hook to the wall: Peel off the protective backing from the other side of the adhesive strip. Position the hook with the strip on the cleaned spot on the wall and press the entire hook surface firmly for at least 30 seconds to ensure full contact between the strip and the wall, squeezing out any air.
- Be Patient for Curing (Important!): This is the most often overlooked but crucial step! The adhesive needs time to form a strong bond with the wall and reach its full holding power. **You MUST check the hook's packaging for the recommended curing time** – this usually ranges from a few hours to a full 24 hours. DO NOT hang anything on the hook during this time!
- Hang your wall scroll: Once the curing time is up, you can gently hang the cord or loop from your wall scroll's top bar onto the adhesive hook. For wider or slightly heavier scrolls, it's recommended to use two adhesive hooks, positioned symmetrically below where the top bar will hang, to better distribute the weight.
Pros of Adhesive Hooks:
- Simple and Easy: Straightforward process, no tools needed.
- Versatile: Works well on most smooth, flat wall surfaces.
- Damage-Free Removal: Designed to be carefully removed without harming paint.
- Included by Diipoo! You don't need to buy them separately, making it hassle-free.
Cons of Adhesive Hooks:
- Not for All Surfaces: May not stick well or can cause damage on textured walls, wallpaper, brick, untreated wood, etc.
- Weight Limit: While better than regular tape, each hook has a maximum weight capacity (though most wall scrolls are lightweight).
- Visible: The hook itself remains visible on the wall.
Adhesive hooks are an excellent starting point and Diipoo's provided go-to damage-free solution. But if you encounter wall surfaces unsuitable for adhesive hooks, or have more specific hanging needs or creative ideas, don't worry, we've got Plan B, C, and D! Next, let's explore three other methods that can help you achieve nail-free hanging.
Method 2: Adhesive Strips / Mounting Tape – The Power of Invisible Bond
Beyond adhesive hooks, the market offers various strong double-sided adhesive strips or mounting tapes specifically designed for hanging. This method allows you to fix the scroll directly and flush against the wall, achieving a kind of "frameless" attached look. Popular products like Command™ Picture Hanging Strips (the ones like Velcro that separate) also fall into this category.
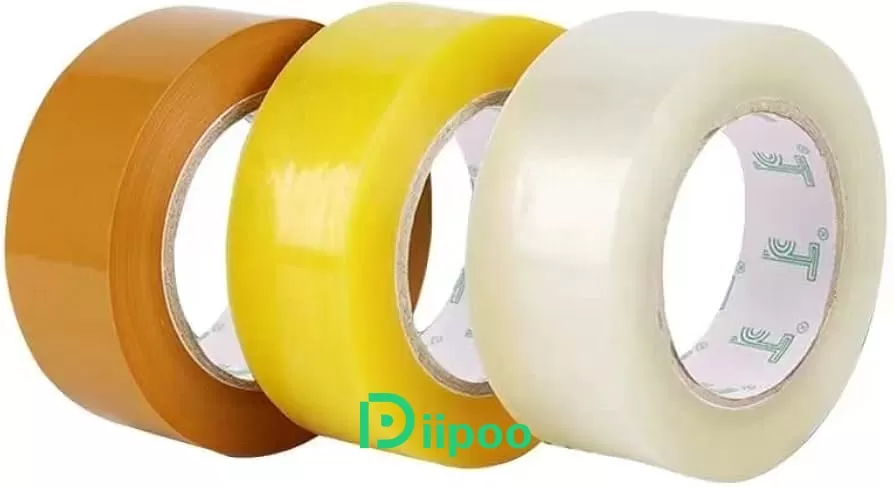
How to use Adhesive Strips/Mounting Tape:
The process is similar to adhesive hooks but focuses on direct contact between the scroll and the wall:
- Clean the surfaces: Again, thoroughly clean the wall surface and the area on the wall scroll's top bar (and even the bottom bar if you want it flush against the wall) where the strips will be applied. Let the surfaces dry completely.
- Prepare the adhesive strips: Based on your scroll's weight and width, cut (or use pre-cut) enough adhesive strips. The top bar is the main weight-bearing point and needs the most strips. If you want the bottom flush, you can use small pieces of strips at the bottom bar's ends or corners.
- Attach to the scroll: Stick one side of the adhesive strips to the back of the wall scroll's top bar (and/or bottom bar), distributing them as evenly as possible. Press firmly to ensure a strong bond with the bar.
- Attach to the wall: Peel off the protective backing from the other side of the adhesive strips. Carefully bring the scroll, with the attached strips, to the wall and align it with your desired position. Starting from one end, slowly and steadily press the scroll onto the wall, ensuring each adhesive strip makes full contact with the wall surface. Press firmly over all the areas where strips are applied for at least 30 seconds.
- (Optional) Separate and Cure: For some types of picture hanging strips, the instructions might suggest you stick them to the wall, temporarily remove the item (the scroll) from the wall, let the strips attached to the wall cure for some time (again, hours to a day), and then re-attach the scroll by pressing the two sides of the strips together. This helps ensure the wall-side strip forms a strong bond. Always check the instructions for the specific product you're using!
Pros of Adhesive Strips/Mounting Tape:
- Flush Mount: Allows the scroll to lie very flat against the wall, giving a clean look.
- High Concealment: The strips are hidden behind the scroll, completely invisible.
- Some are Damage-Free: Choose high-quality products specifically labeled "damage-free removal."
Cons of Adhesive Strips/Mounting Tape:
- Removal Risk: If the product is low quality, the wall surface is poor, or removed incorrectly, paint damage is possible.
- Difficult to Adjust: Once stuck, micro-adjusting the position is harder than with hooks.
- Need to Estimate Amount: Requires judging how many strips are needed for secure hanging.
Method 3: The Tension Rod Trick – Utilizing the Gaps in Your Space!
Now, let's think outside the box and explore methods that don't rely on the wall surface itself! Have you considered that some small "gaps" in your room, or areas like doorways and inside window frames, are actually perfect spots for hanging a wall scroll? No need for drilling or adhesive on the wall – just one magical tension rod is all it takes to create a perfect display area!
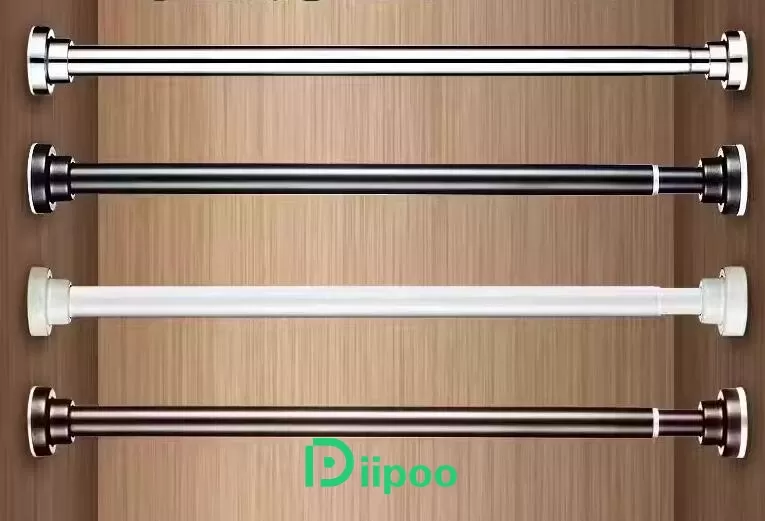
How does a Tension Rod work?
A tension rod's mechanism is quite clever – it has an internal spring or a twisting mechanism that allows you to adjust its length. When its length is adjusted to be slightly longer than the distance between two opposing surfaces (like walls or furniture sides), the tension created by the spring or twisting action holds the rod firmly "propped" in place between the two sides. It's very secure and relies purely on tension, not nails or adhesives. They usually have non-slip pads or rubber ends to increase friction and protect the contact surfaces.
Where can you use a Tension Rod?
Tension rod hanging works best in relatively narrow spaces with two parallel and stable vertical surfaces. Think about these spots:
- Doorways or Passages: If your room entrance or an internal passage has a door frame without a door, a tension rod can span across the top or sides of the frame, becoming a unique hanging point.
- Inside Window Frames: If your windows have an inset frame, you can install a tension rod inside the frame to hang the scroll in front of the window, creating an interesting layer.
- Alcoves or Open Built-in Shelves/Closets: If your wall has alcoves or built-in shelves or closets without doors, these open spaces are ideal for installing a tension rod.
- Small Spaces Between Furniture: Sometimes two large pieces of furniture (like a wardrobe and a desk) have a gap between them that's just the right width for a scroll. If their sides are flat and stable, you can try using a tension rod.
- Between a Headboard and the Wall (if the design allows): Some headboards create a suitable space between them and the wall that can be utilized.
How to hang your scroll using a Tension Rod:
The steps are very simple:
- Measure the Width: Precisely measure the distance between the two surfaces where you want to install the tension rod. Make sure these two surfaces are flat, vertical, and sturdy enough (like a solid wall or a sturdy wooden frame).
- Choose the Right Tension Rod: Based on your measurement, select a tension rod with an appropriate length range. Ensure the rod you choose can support the weight of your wall scroll (wall scrolls are usually lightweight, so most rods will work, but longer rods have lower weight capacity; check the product specs if your scroll is very large). Consider the rod's appearance as well; some have decorative designs.
- Adjust the Rod Length: Based on your measurement, slightly twist or extend the tension rod so its length is just a little bit longer than the actual distance. This slight extra length is the key to creating the tension that holds the rod in place.
- Install the Rod: Place one end of the tension rod against one surface, then press the other end firmly while pushing the rod into the space between the two surfaces. If the rod tightens by twisting, you'll need to twist while pushing until the rod is held tightly in place and feels very stable, unable to move easily. **Crucially, use a level (a phone app works too!) to check if the rod is horizontal**, otherwise your scroll will hang crooked.
- Hang the Wall Scroll: Now your tension rod is securely in place. You can hang your wall scroll in several ways:
- Using the Scroll's Hanging Cord: Most wall scrolls have a hanging cord at the ends of the top bar. You can simply loop this cord over the tension rod. If the scroll is wide, the cord might be a bit short, or the scroll might sag a bit. In this case, you might need two separate cords or thin chains attached to the ends of the bar and looped over the rod.
- Using S-Hooks or Small Clips: If the top bar doesn't have a hanging cord, or if you find the cord less aesthetically pleasing or inconvenient for adjusting position, you can buy small S-hooks or clips with loops. Clip the clip onto the scroll's hanging loop (if it has one) or onto the top bar (if the bar allows), then loop the hook or the top ring of the clip over the tension rod. This method gives you more flexibility in adjusting the scroll's position on the rod and can use multiple clips for a flatter hang.
- Using String or Thin Chain: You can buy thin string, twine, or decorative chain, attach one end to the hanging loops or attachment points at the ends of the scroll's top bar, and then loop the other end(s) over the tension rod. This method works if the top bar lacks a cord or if you want to precisely adjust the scroll's hanging height.
Pros of Tension Rod Hanging:
- Completely Damage-Free: Leaves absolutely no nail holes or adhesive marks on walls, doorways, or windows.
- Easy Installation: Fast process, usually requires no tools (besides measuring and a level).
- Easy Removal: Can be easily taken down anytime without leaving marks.
- Inexpensive: Tension rods are generally affordable.
- Utilizes Specific Spaces: Effective for decorating narrow or specific areas that are otherwise hard to utilize.
Cons of Tension Rod Hanging:
- Location Limited: Only works where there are suitable parallel supporting surfaces.
- Scroll Hangs Freely: The scroll hangs from the rod and the bottom usually doesn't stick to the wall (unless you fix it separately), which might cause slight swaying from air movement.
- Visibility: The tension rod itself might be visible, which might not be as clean-looking as a fully invisible hanging method.
- Stability: Risk of slipping if not installed correctly or if the rod's weight capacity is exceeded.
Method 4: The Art of the Ceiling – Let Your Passion Descend from "Above"!
Want to try something even more unique? Go for hanging your wall scroll from the ceiling! This method completely avoids interacting with your walls and can create a dramatic effect, making your artwork appear to "float" in mid-air. It's perfect for scrolls you want to display as a focal point in the room, or if your walls are simply unsuitable for any adhesive or drilling.
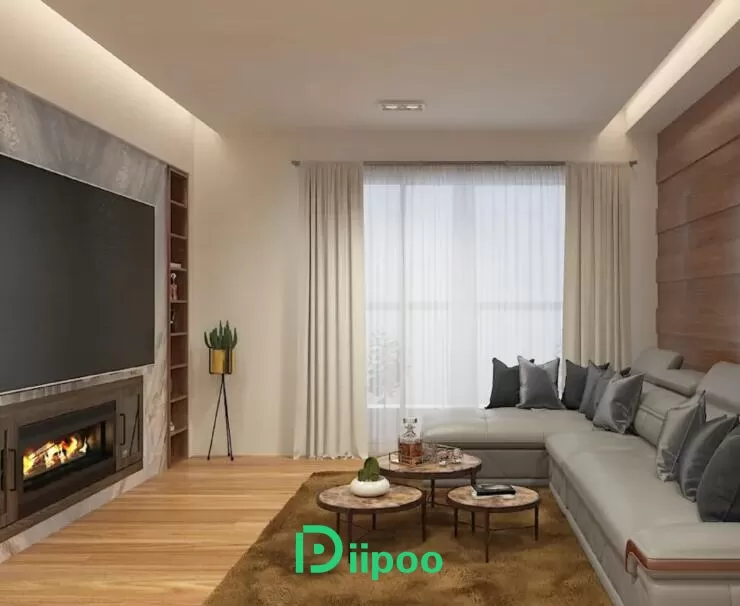
What's the appeal of Ceiling Hanging?
The charm of this method lies in its unconventional approach and visual impact. The scroll doesn't just rest against the wall; it descends vertically from the ceiling, creating a striking focal point. This is especially effective for larger scrolls you want to highlight. Plus, it's not restricted by wall materials or whether there's enough flat surface – it can be hung almost anywhere the ceiling allows.
How to hang your wall scroll from the Ceiling:
This requires a bit more hands-on effort and some knowledge of your ceiling material, but it can still be done without nails:
- Choose the Hanging Point and Clean the Ceiling: Decide on the exact location where you want the scroll to hang. Consider the scroll's width, length, and its position relative to furniture, windows, etc. Ensure the ceiling area you choose is flat, clean, and dry. **It is crucial to clean the area with rubbing alcohol** – just like with walls, this ensures the adhesive can bond properly.
- Install a Nail-Free Ceiling Hook: Yes, there are adhesive hooks specifically designed for ceilings. They usually have stronger holding power and adhesive formulas optimized for vertical weight bearing compared to wall hooks. Choose a ceiling adhesive hook suitable for your scroll's weight (typically, the scroll's weight isn't the main issue, but rather the hook's own stability).
- How to use: Just like using wall adhesive hooks, thoroughly clean the installation area on the ceiling, ensuring it's free from dust or grease. Follow the instructions on the hook's packaging: attach the adhesive strip to the hook, then firmly press it onto the ceiling. **This step is equally crucial: allow the adhesive to cure for the time recommended in the instructions (usually 12-24 hours or even longer)!** Since it's the ceiling, a fall could cause damage, so waiting longer and ensuring a full cure is safer.
- Alternative (if ceiling allows): If your ceiling isn't standard drywall or doesn't allow adhesive, or if you need to hang something heavier, you might consider other methods (e.g., fixing directly into a ceiling joist), but these typically require tools and leave permanent marks, which doesn't fit the "nail-free" goal. For wall scrolls, adhesive ceiling hooks are the best nail-free option.
- Prepare the Hanging Line: You'll need a thin but strong line or string to connect the scroll to the ceiling hook.
- Clear Fishing Line: This is the most invisible option, making the scroll appear to float. Choose fishing line with sufficient strength (check the packaging for weight rating).
- Thin String or Twine: If you prefer a more natural or decorative look, you can use thin twine, colored string, etc.
- Thin Chain: Suitable for an industrial look or if you want a more structured feel.
- Note: The length of the hanging line determines how high the scroll hangs. Plan your desired hanging height beforehand.
- Connect the Scroll and Hook:
- Attach one end of the hanging line to the hanging loops or attachment points at the ends of the scroll's top bar. If the scroll doesn't have these points, you might need to create two, perhaps using small metal rings (if the bar allows) or attaching small adhesive hooks discreetly on the back of the bar. For wider scrolls, using two lines attached to each end helps with balance and stability.
- Attach the other end(s) of the hanging line to the ceiling hook. If you're using two lines, ensure they are attached to the same hook (if the hook is wide enough) or use two symmetrical ceiling hooks.
- Adjust Height and Level: After hanging, check if the scroll is level. If not, slightly adjust the length of the line on one side. If the scroll is too high or low, readjust the line length. Be careful when adjusting clear fishing line, as it can tangle easily.
Pros of Ceiling Hanging:
- Completely Avoids Walls: Total damage-free solution for walls, not restricted by wall material.
- Unique Visual Effect: Creates a floating effect, making it a eye-catching focal point.
- Location Freedom: Can be hung almost anywhere on the ceiling, not limited to wall locations.
- Not Affected by Uneven Walls: Since it hangs freely, it's not impacted by whether the wall is perfectly flat.
- Utilizes Vertical Space: Great for rooms with high ceilings, allowing you to use more vertical space for decoration.
Cons of Ceiling Hanging:
- More Difficult to Install: Requires working overhead on the ceiling, possibly needing a ladder or sturdy stool, generally more challenging to execute.
- Prone to Swaying: Since it's suspended, the scroll can easily sway from air currents caused by opening doors, windows, fans, or even AC vents.
- Safety Consideration: You must ensure the ceiling hook and its adhesive are strong enough and installed correctly. If the hook fails, the scroll falling could cause damage. Use high-quality ceiling-specific hooks and follow instructions strictly.
- Light and Shadow: A scroll hanging from the ceiling might cast shadows on the wall, which needs to be considered based on light sources.
Summary and Your Exclusive Choice:
Alright, we've explored four methods to let your custom wall scrolls reside "damage-free" in your personal space:
- Diipoo Included Adhesive Hooks: Simple, convenient, direct; the go-to for most smooth walls.
- Adhesive Strips/Mounting Tape: Achieves a clean, flush-to-wall look.
- Tension Rods: Cleverly uses doorways, window frames, alcoves, etc., without touching the wall surface at all.
- Hanging from the Ceiling: Bold and creative, creates a floating visual effect, completely avoids walls but requires secure ceiling attachment.
Each method has its unique charm and ideal scenario. The choice is entirely yours, depending on your room's specific conditions, wall/ceiling materials, the visual effect you want to achieve, and the effort and budget you're willing to invest.
Final General Hanging Tips (worth repeating!):
- Cleanliness is Key! Before using any adhesive product, thoroughly cleaning the wall or ceiling surface is the foundation of success.
- Patience is a Virtue! Give adhesive products ample time to cure according to instructions – don't rush to hang weight.
- Safety First! Especially when working overhead or hanging from the ceiling, ensure your tools, hooks, and methods are safe and reliable.
- Use Your Tools! A level (even a phone app) helps you hang your scroll straight and beautifully.
Choose your right wall scroll fabric. Your custom Diipoo wall scroll is more than just a print; it's a window to the world you love, a declaration of your personal space. With these nail-free methods, you have the flexibility and freedom to display your "treasures," adjust their positions anytime, without worrying about making permanent changes to your walls.
Now, pick up your received Diipoo scroll, combine it with these guides, and choose the best damage-free hanging method for you! No matter which way you decide, we cheer for you!
If you encounter any issues during the hanging process, or have questions about the scroll itself, please don't hesitate! Contact the Diipoo customer service team anytime – we're always ready to help you out!
Let your passion hang free, damage-free, and let your personality shine in your exclusive domain!